Monitoring Station Quick Guide
Step by step guide for iPad mini
Section titled “Step by step guide for iPad mini”To find out which hardware is recommended to use click here: Hardware Requirements Learn how to connect the hardware here: Hardware Setup Find out which software is needed here: Software Requirements What to keep in mind when starting the Monitoring Station can be found here: Software Setup Find out which preset offers which settings here:PresetsLearn how to access the video streams and monitor them here: Archivist If you run into any issues you may find help here: Troubleshooting/FAQ
-
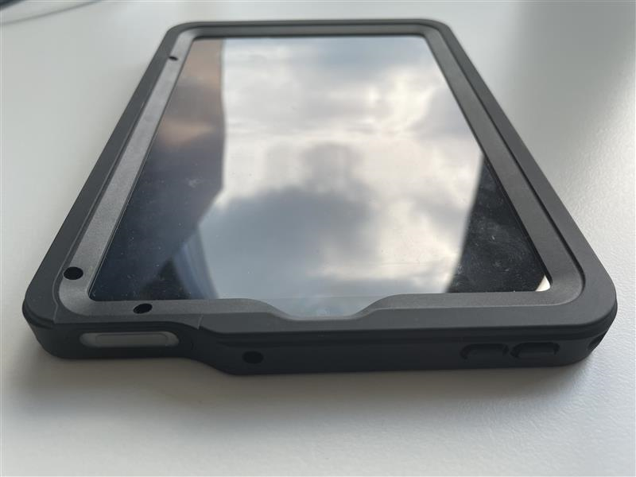
To begin, turn on the iPad.
-
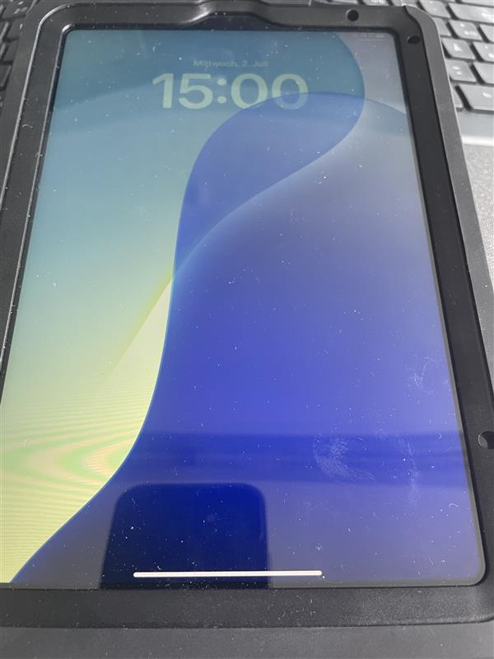
Swipe up from the bottom to unlock the screen.
-
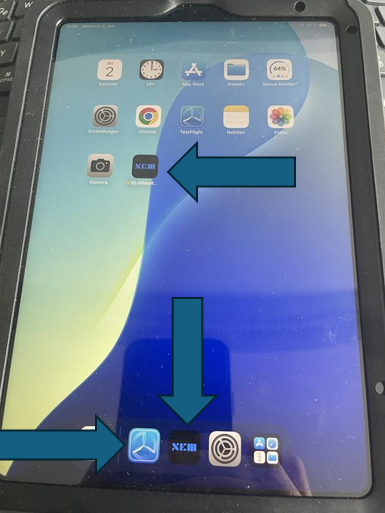
Open the XEM app or tap on TestFlight and open XEM from there.
-
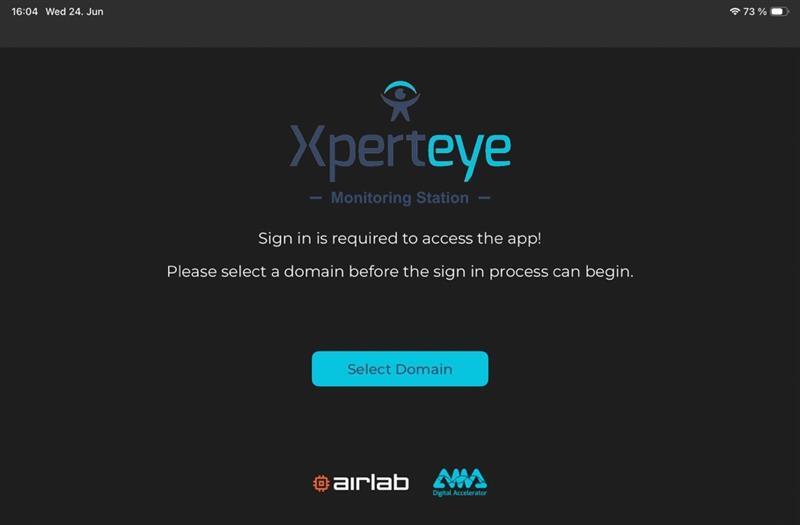
Tap on “Select Domain”.
-
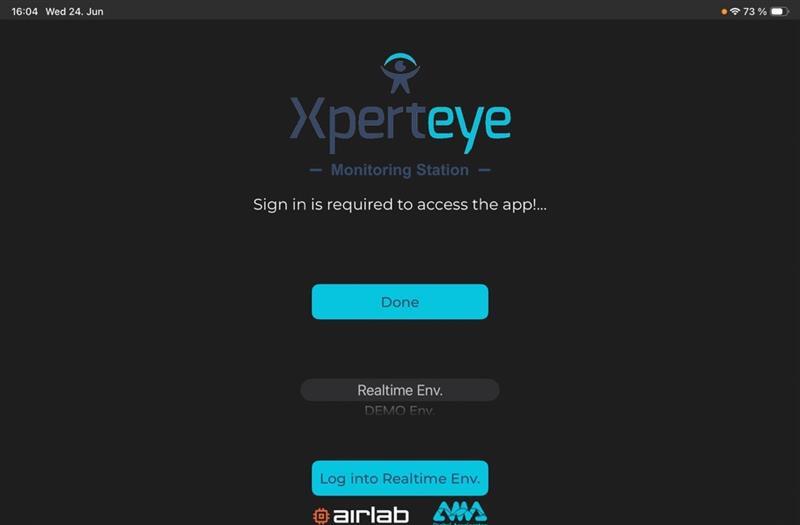
Tap on “Log into Realtime Env.”.
-
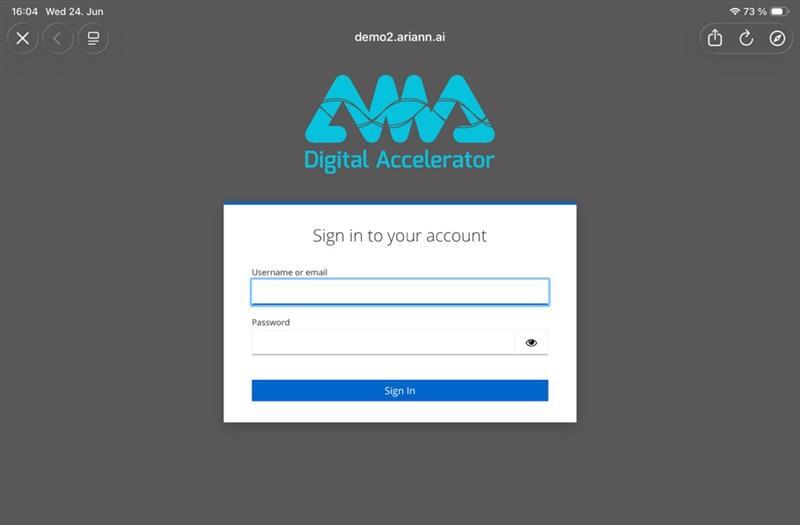
Log in with your credentials.
-
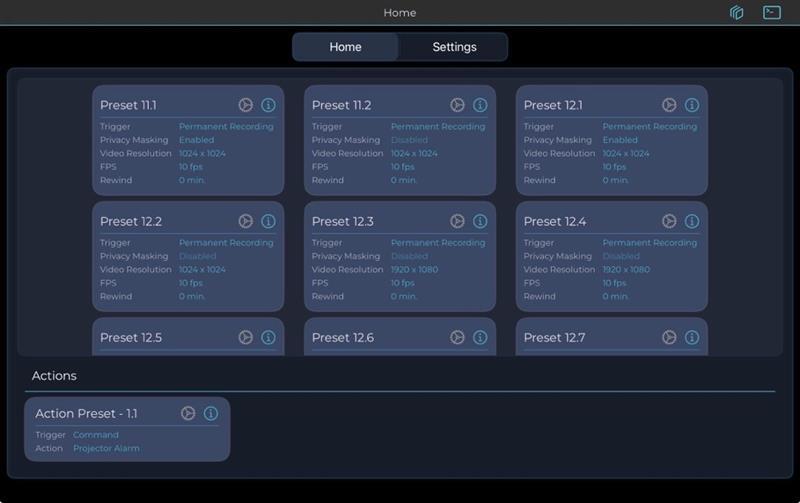
Select the Preset you need.
-
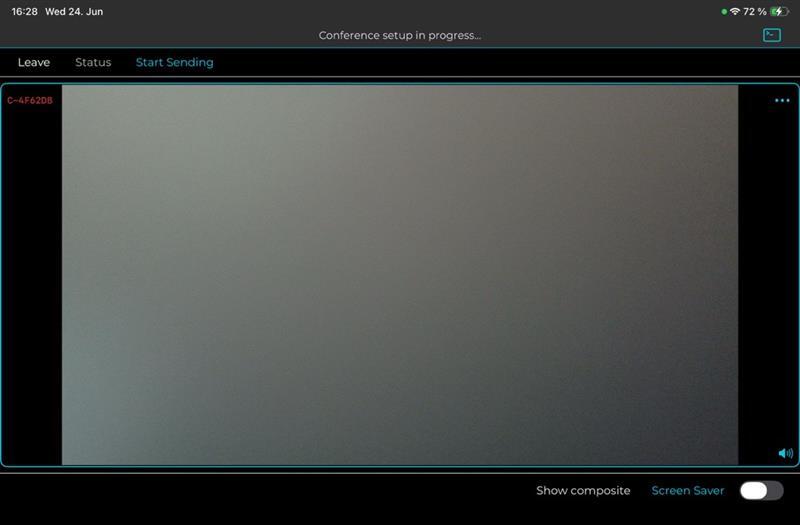
Rename cameras by tapping on the 3 dots in the top right corner.
-
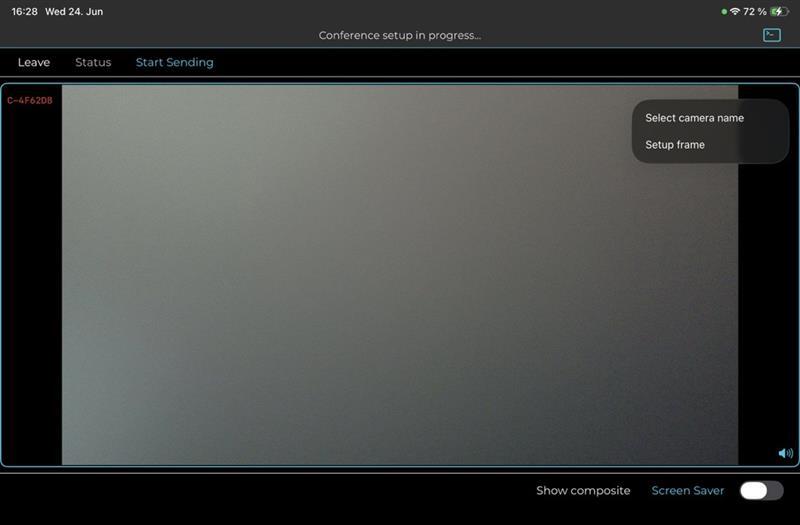
Tap on “Select camera name”
-
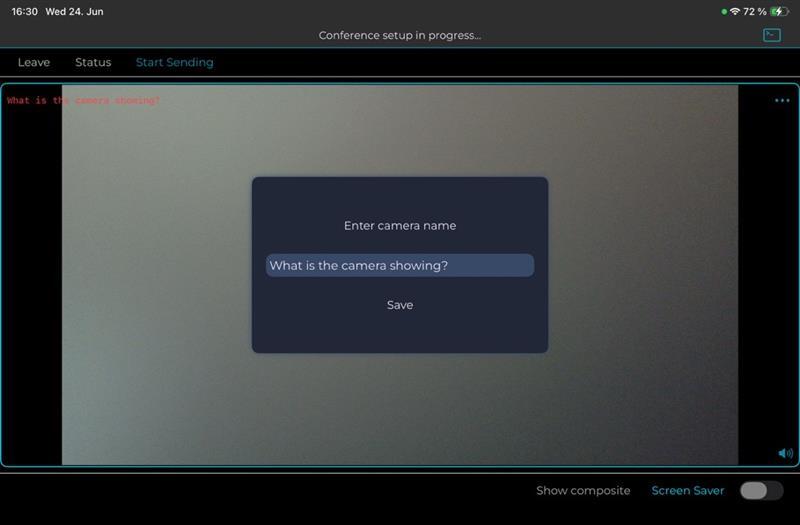
Choose a name (e.g. location or what the camera is showing) and confirm by tapping “Save”.
-
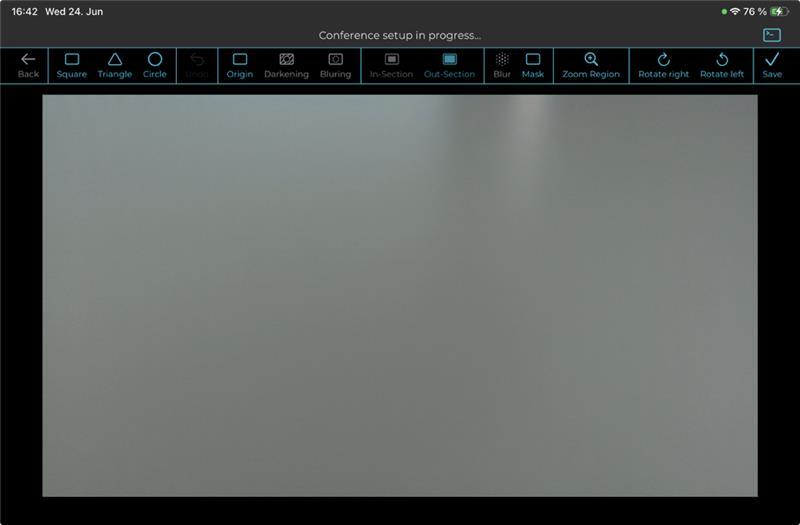
If needed tap on “Setup frame” from step 10 to black out areas of the video feed (privacy masking), zoom in or rotate cameras.
-
Wait until the video stream is displayed and tap on “Start Sending” to start the recordings.
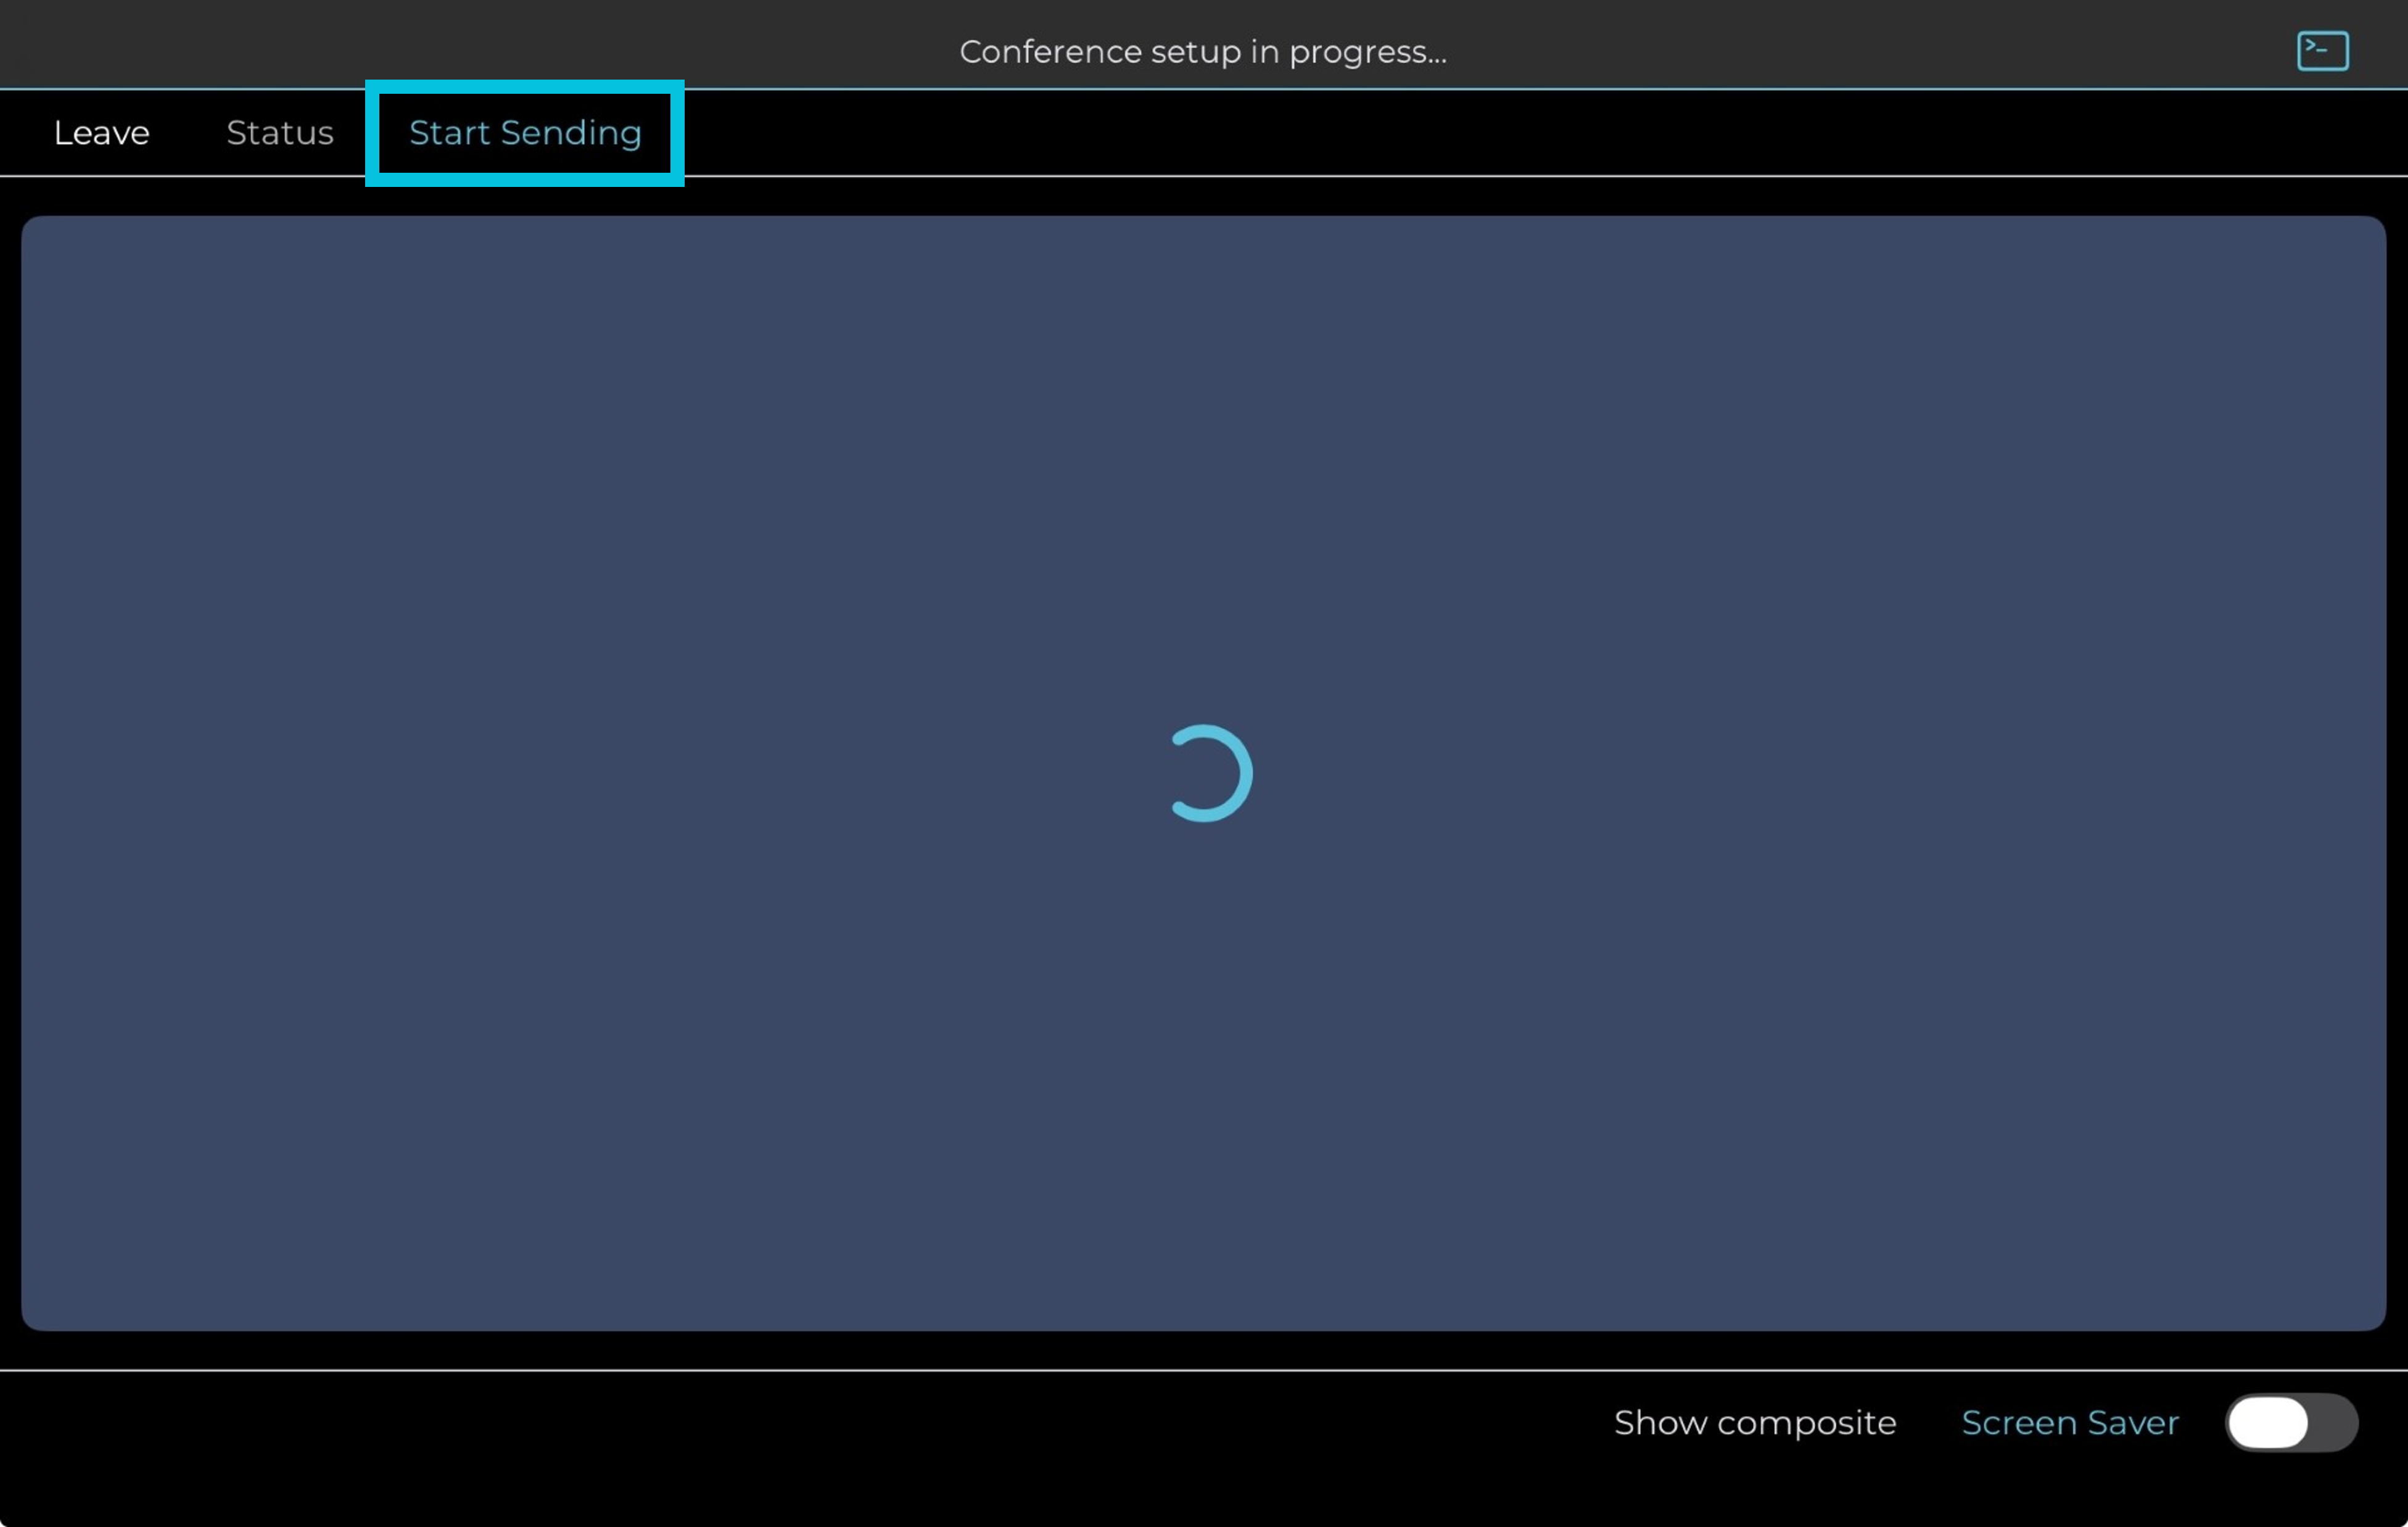
In case you want to hide the video streams on the iPads screen tap on the toggle next to “Screen Saver” to activate it.
For a larger view of the video streams tap on “Show composite”.
**Server Processing can be performed on the video streams:**Detection, Blurring, Reports and more can be processed on demand.
PLEASE REACH OUT TO AMA PROJECT MANAGEMENT IN CHARGE IN CASE OF ANY QUESTIONS OR ISSUES!